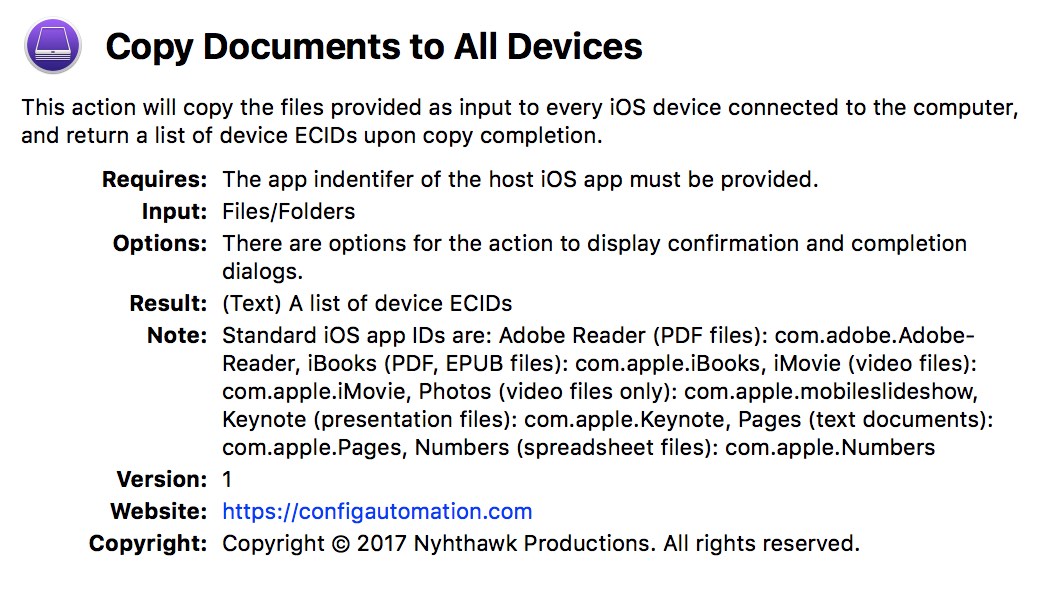
The “Copy Documents to Devices” action
The Copy Documents to Devices action is used to copy document files onto connected devices.
| Input: | ECID Identifiers for the connected devices which are to receive document files |
| Output: | ECID Identifiers for the connected devices that received document files |
| Parameters: | You can choose to identify the associated application by either: selecting it from the list of iOS apps residing on the host computer, or by entering the iOS application ID in a text field. |
The Action View
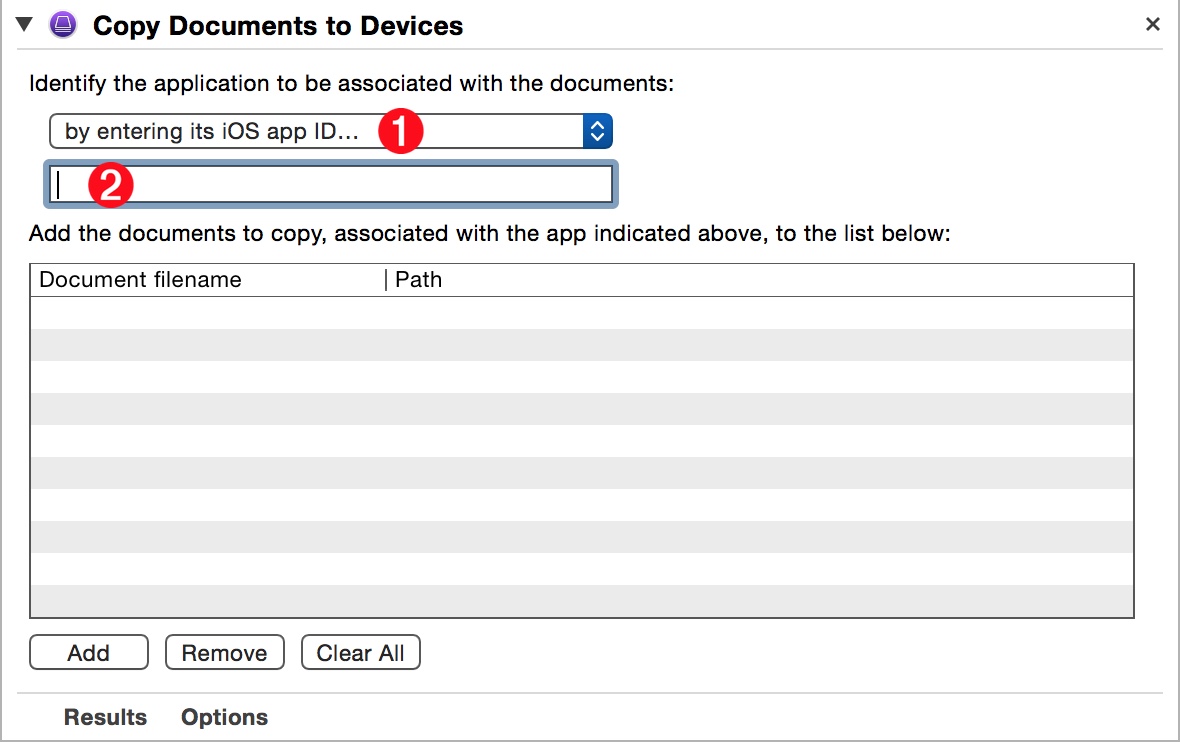
Because of the security architecture of iOS devices, documents must be associated with specific applications. The “Copy Documents to Devices” action offers two methods for indicating the host application for the listed documents. This choice is indicated by selecting one of two options from the popup menu 1 at the top of the action view: (⬇ see below )
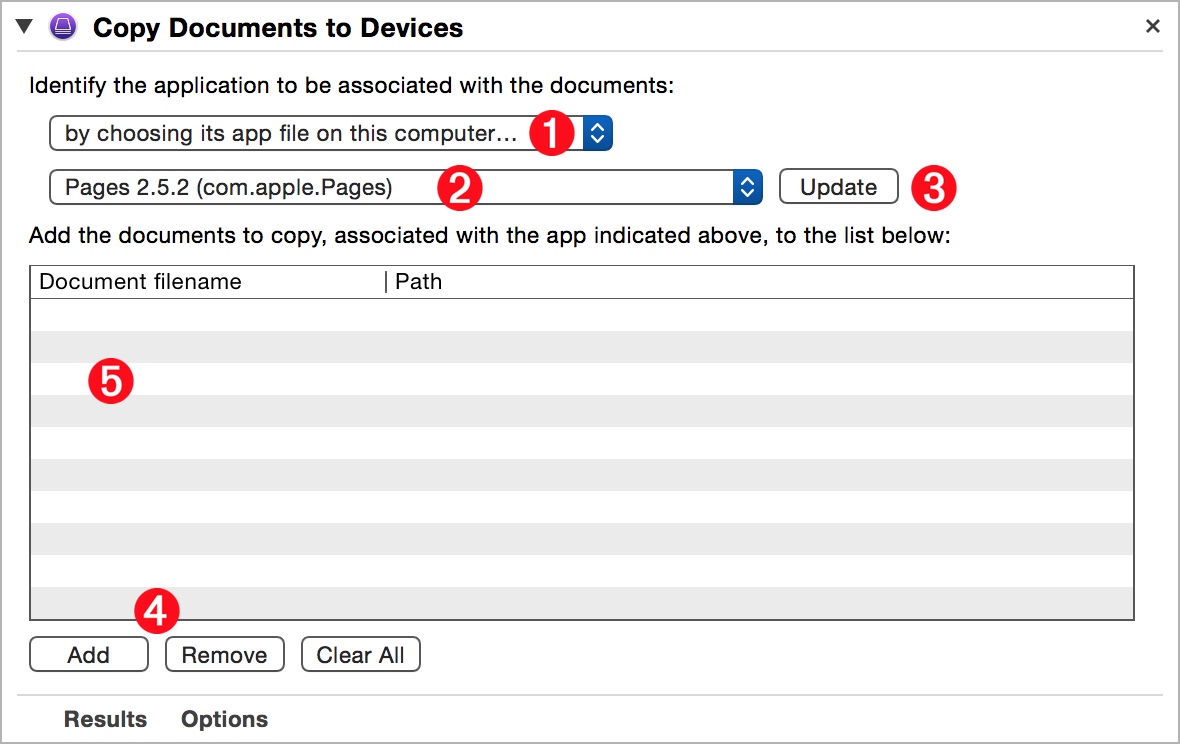
(⬆ see above ) If you’ve chosen to associate the documents to an iOS app whose file is on the host computer 1 then select the app from the second popup list of applications 2 which can be refreshed by click the Update button 3 to the right of popup menu.
Create a list document files 5 to be transfered to the connected devices by using the “Add” and “Remove” buttons 4 at the bottom of the action view.
(⬇ see below ) But if you’ve chosen to identify the associated application by its iOS ID 1 then enter the complete iOS application ID in the provided text field 2 :
TIP: Should you wish to transfer documents for more than one application, add other copies of this action to your workflow, and set their parameters accordingly.
The “Copy Documents to Devices” droplets
Copying files to connected iOS devices doesn’t have to be an involved process. It can be as simple as “Drag and Drop.”
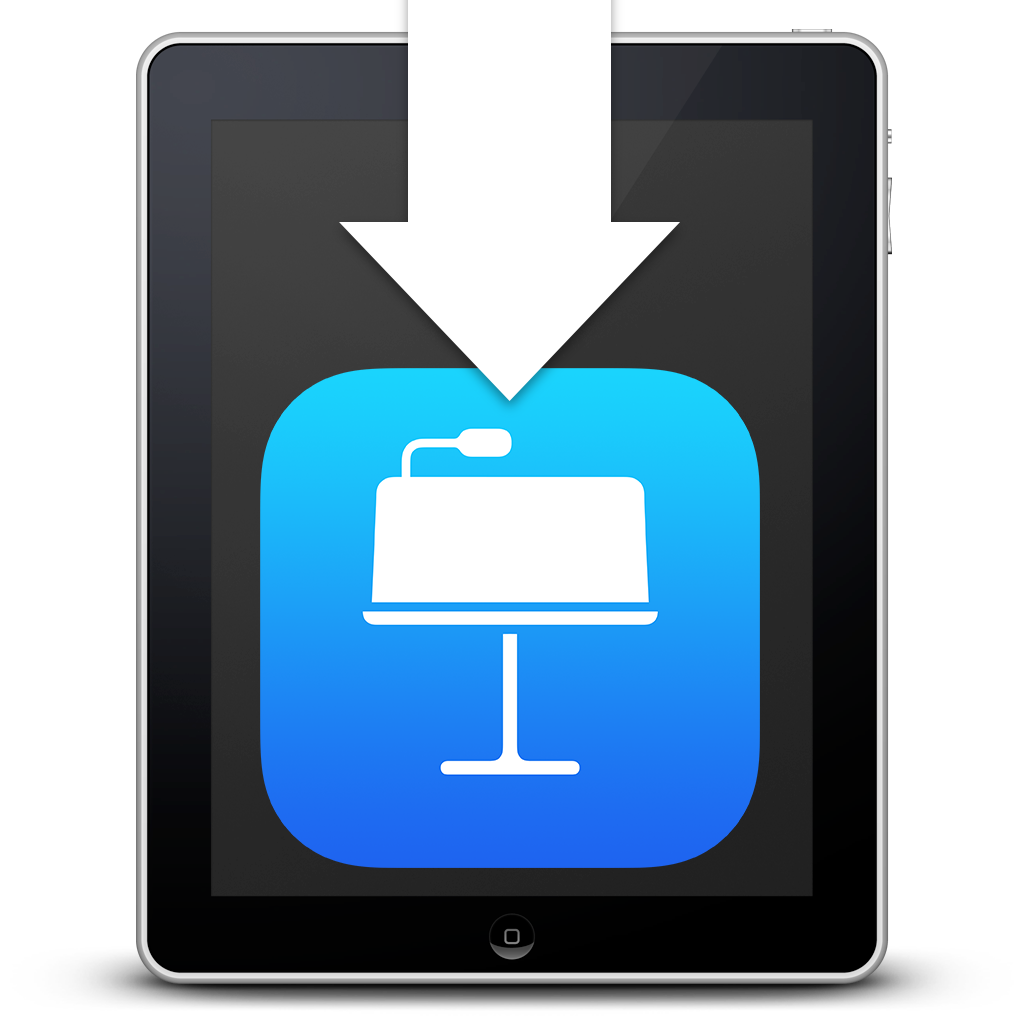
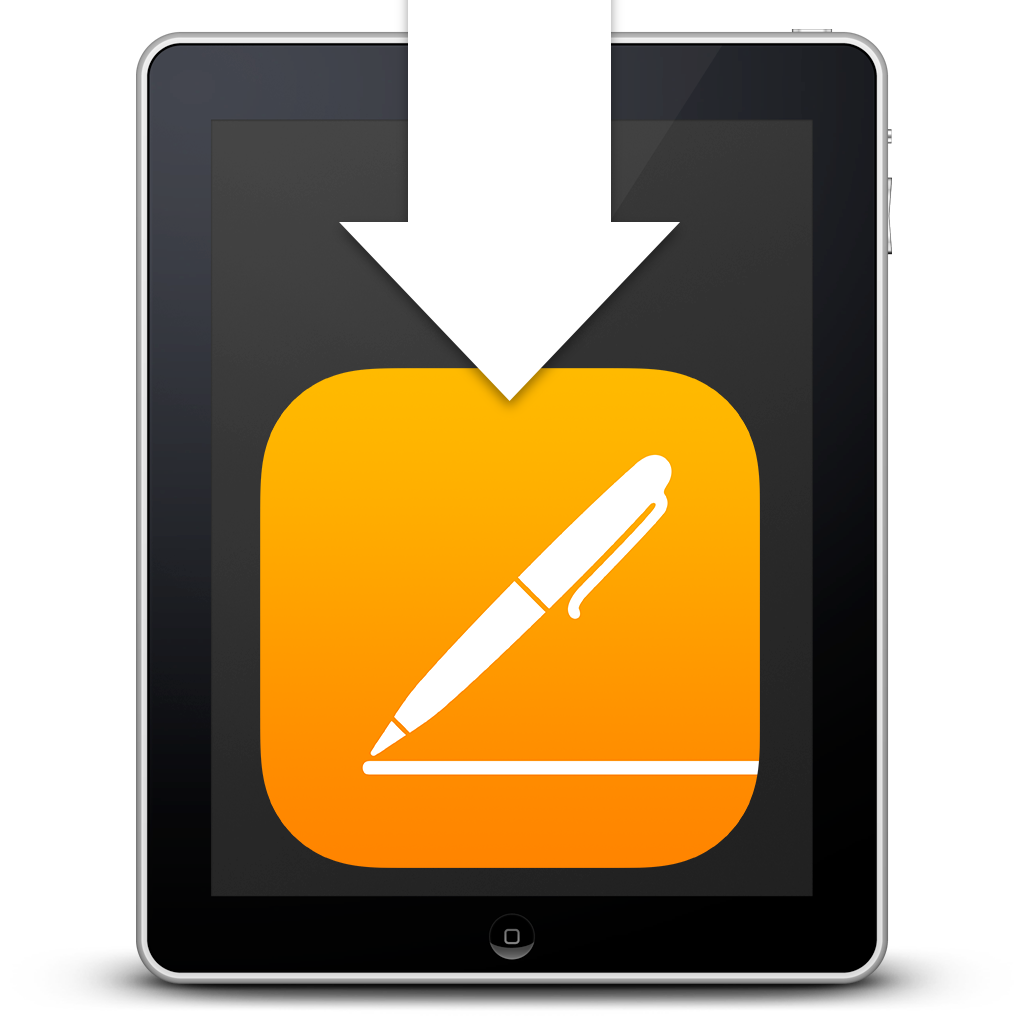
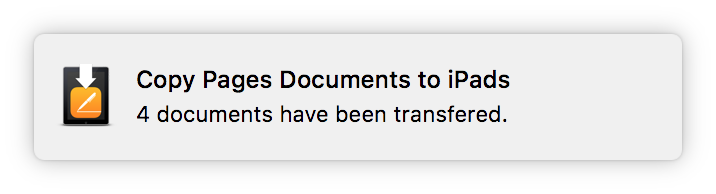
DOWNLOAD a set of AppleScript droplets for copying iWork-related documents to the currently connected iOS devices. To use, simply drag iWork-supported files onto the droplets and approve the transfer in a forthcoming dialog. A progress window will display the status of the file transfers and a notification dialog (⬇ see below ) will appear when the copy process has completed.
NOTE: Be sure that the iWork applications are installed on the iOS devices before attempting to copy iWork-related files.
The “Copy Documents to Devices” services
Here’s an alternate solution for performing a no-fuss copy of a couple dozen documents: contextual system services. Simply right-click the files in the Finder and select the system service for the kind of file you have selected.
You can create these services yourself in Automator using the Copy Documents to All Devices action you can download here.
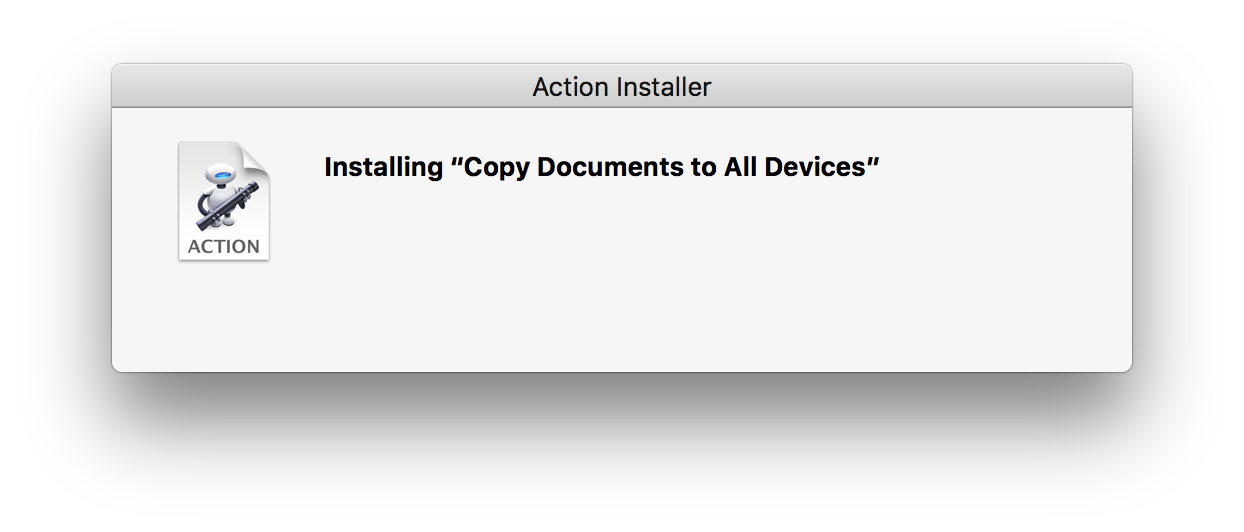
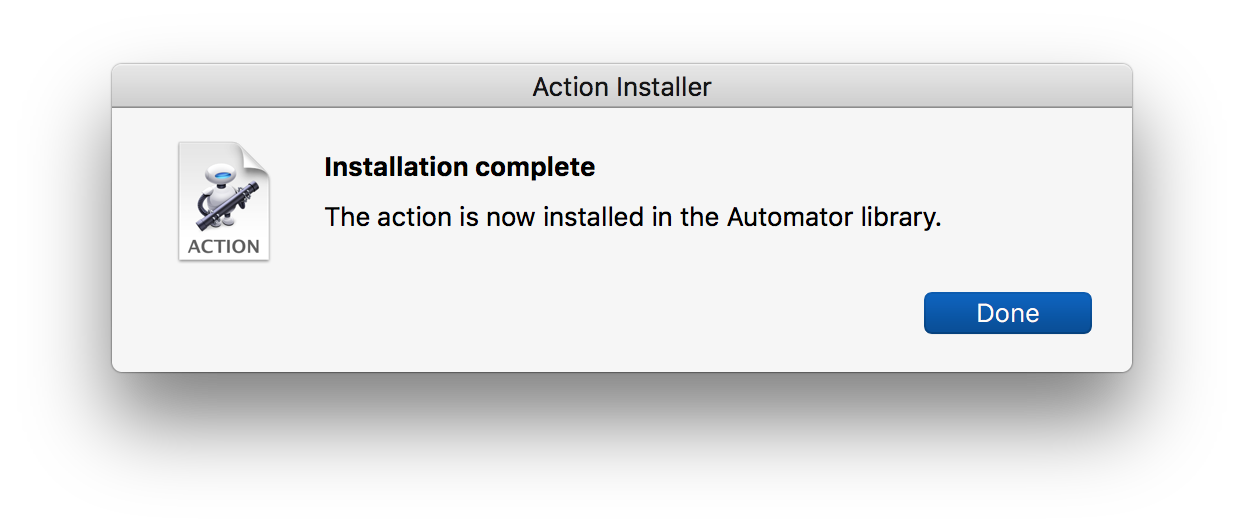
Install the Automator Action file
NOTE: Automator are very powerful because by installing them, you are granting them your authority to manipulate files and objects in macOS. So…
ONLY INSTALL AUTOMATOR ACTIONS FROM TRUSTED SOURCES!
After downloading the action, double-click the action file in the Finder and interact with these dialogs:
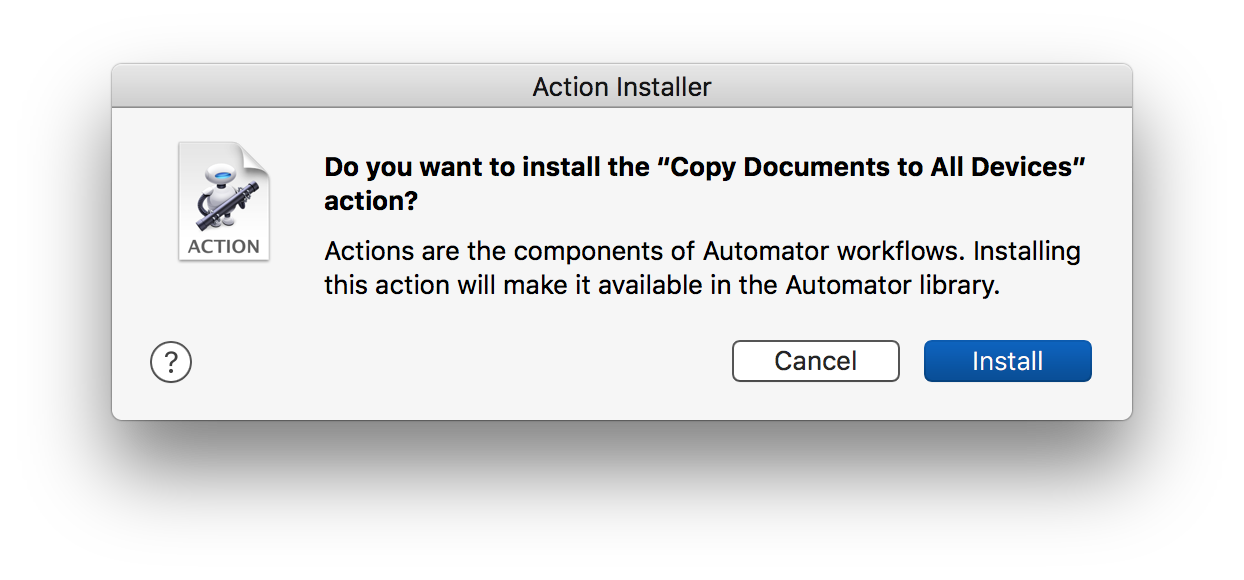
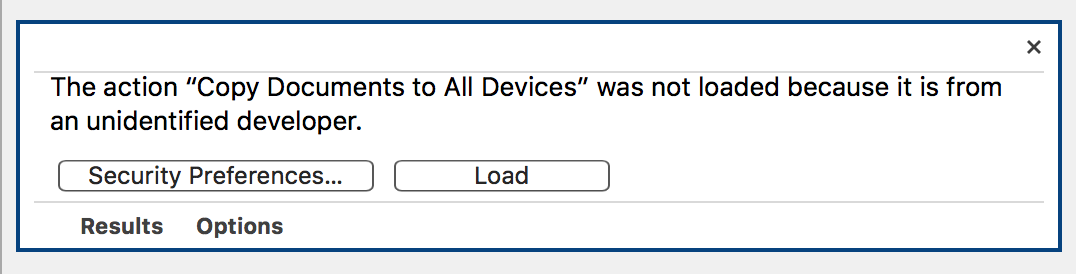
The first time the action is used in a workflow, macOS security will prevent the action from loading. You have the option to approve the action’s installation by clicking the Load button:
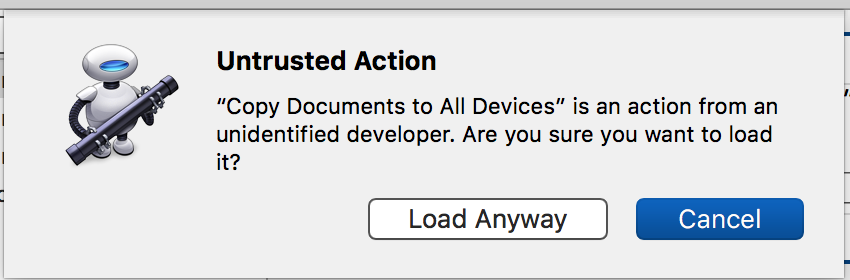
Clicking the Load button with summon a security confirmation sheet:
Here is the description for the installed action:
Create Contextual System Services
Creating a contextual system service in Automator is easy. Here’s an example system service that will copy PDF files selected in the Finder, to the iOS devices connected to your computer:
- Choose New from Automator’s File menu. A new workflow document will open covered by an open template sheet. Click the Service (gear icon) option from the template and then the Continue button. The open document will be converted into a system service workflow.
- Configure the service input controls 1 to accept PDF files selected in the Finder (desktop)
- Drag the Copy Documents to All Devices action from the Automator action library to the workflow 2
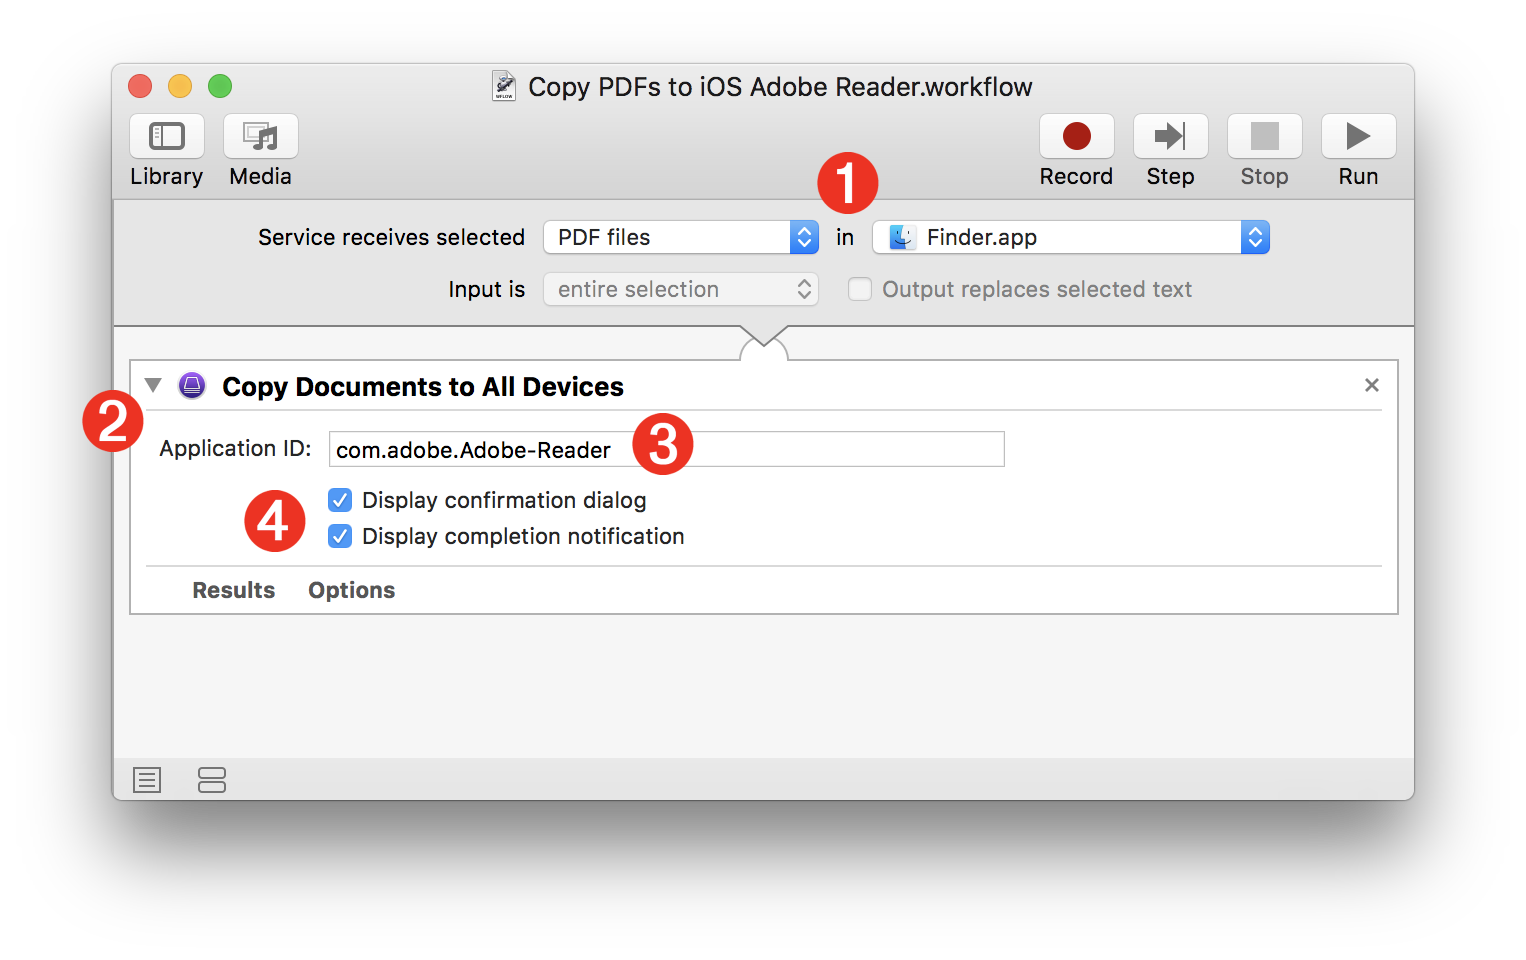
- Enter the app ID of the iOS app that will host the copied documents into the text field 3 in the action view. In this example, the app assigned to open the copied PDF files will be Adobe Reader, and its app ID on iOS is:
com.adobe.Adobe-Reader
Some standard iOS app IDs are: Adobe Reader (PDF files): com.adobe.Adobe-Reader, iBooks (PDF, EPUB files): com.apple.iBooks, iMovie (video files): com.apple.iMovie, Photos (video files only): com.apple.mobileslideshow, Keynote (presentation files): com.apple.Keynote, Pages (text documents): com.apple.Pages, Numbers (spreadsheet files): com.apple.Numbers - If you want to confirm the copy process, and be notified when the document copy process has completed, select the checkboxes 4 in the action view.
- Save and name the workflow and it will be automatically installed into the system services on your computer. It will be available from the FInder contextual menu when you have PDF files selected.
The “Copy Documents to Devices” applet
You can also use the Copy Documents to All Devices action to create an Automator application that you can drag files onto to copy them to the iOS devices connected to your computer.
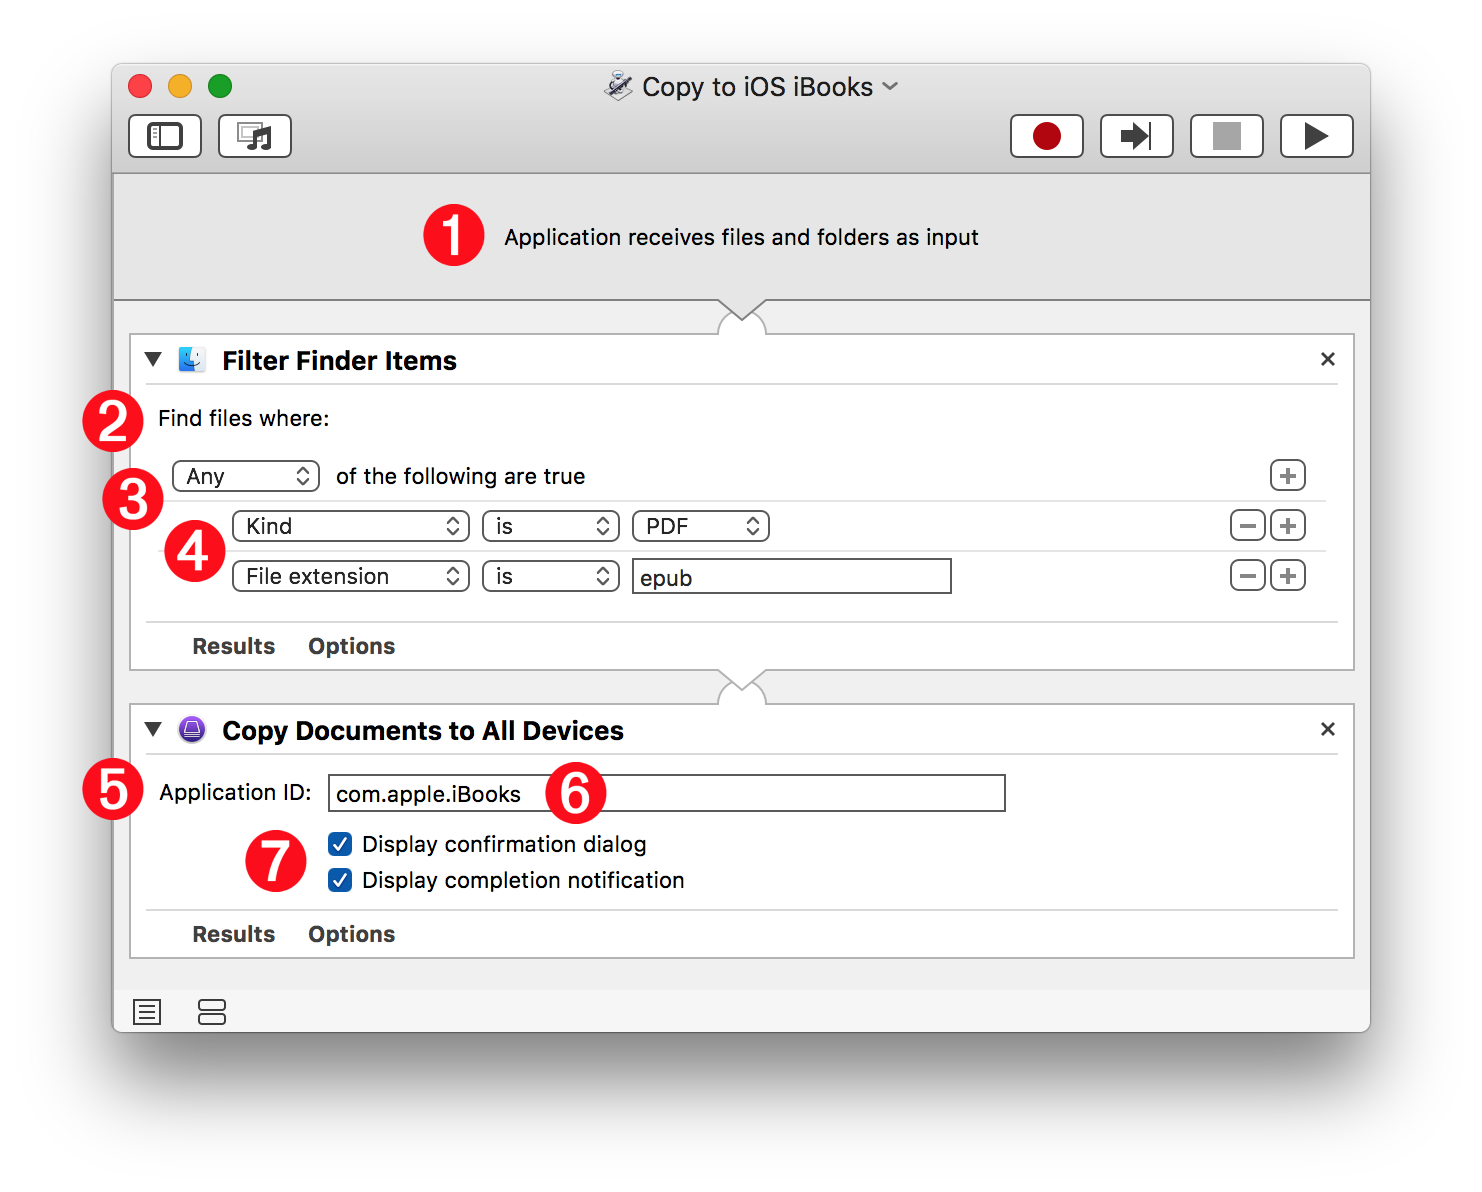
Here’s an example workflow for creating an applet that can be used to copy PDF and EPUB files to iBooks on your connected iOS devices.
- Choose New from Automator’s File menu. A new workflow document will open covered by an open template sheet. Click the Application (Otto icon) option from the template and then the Continue button. The open document will be converted into a system service workflow.
- There are no input controls to configure 1 as, by default, Automator applets accept Finder items dragged-onto them as input.
- Drag the Filter Finder Items action from the Automator action library to the workflow 2 . Set the filter parameter control 3 to approve Any of the filter conditions listed below it. Add two filter conditions 4 one for items whose kind is PDF, and one for items whose file extension is epub (digital books). Only the dragged-on items matching either of those parameters will be passed to the next action.
- Drag the Copy Documents to All Devices action from the Automator action library to the workflow 5 and set the application ID 6 to be: com.apple.iBooks
- Select both of the interaction options 7
- Save and name the applet and place it on your desktop or in the macOS Dock. Drag files onto the applet to begin the copy process.